
02 / Overlay system
Polyurea seamless roof overlay system
A Polyurea overlay may be assessed where the substrate and retained layers are sound but the surface has aged or contains local cracks and vulnerable details.
Decision note
An overlay does not remove the need for substrate preparation. Existing adhesion, moisture, cracks, drainage and details must still be checked before cleaning, grinding, local repair, priming and Polyurea spraying.

System fit
Confirm the existing condition before selecting the system.
- More suitable when
- Roofs where the substrate and retained layers are generally sound and the main concerns are ageing surfaces, joints or local cracks.
- Do not assume suitability
- Do not directly overlay widespread debonding, persistently damp substrates or unresolved drainage defects.
Detailed workflow
Six stages from survey to handover
- 01
Assess existing layers
Check adhesion, hollow areas, cracks, moisture, outlets and previous repairs to determine what can remain.
Checkpoint: Do not cover loose, contaminated or persistently damp substrates.
- 02
Clean, grind and repair
Remove dirt and loose material, grind where required, and repair cracks or unstable local areas to create a bondable surface.
Checkpoint: Confirm cleanliness, dryness and surface profile against system requirements.
- 03
Strengthen vulnerable details
Treat upstands, parapets, outlets, plinths, pipes, penetrations and transitions between different materials.
Checkpoint: Complete high-risk movement, ponding and leakage details first.
- 04
Prime and confirm conditions
Select a compatible primer and control surface condition, weather and recoat timing before spray application.
Checkpoint: Recheck primer condition and the application window immediately before spraying.
- 05
Spray the seamless membrane
Use specialist equipment to apply a continuous Polyurea membrane over the agreed area and prepared details, followed by any specified finish.
Checkpoint: Check thickness, coverage and terminations against the approved system.
- 06
Inspect, test and hand over
Inspect continuity, details and terminations, complete suitable testing, and compile photographic and work records.
Checkpoint: Testing must not disrupt equipment, drainage or normal building operations.
Project video
Polyurea waterproofing project record
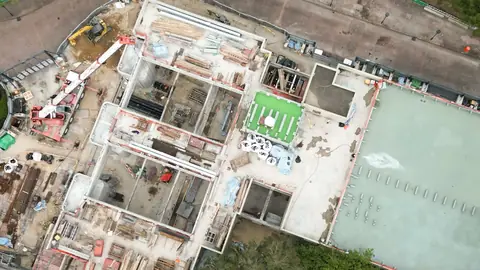
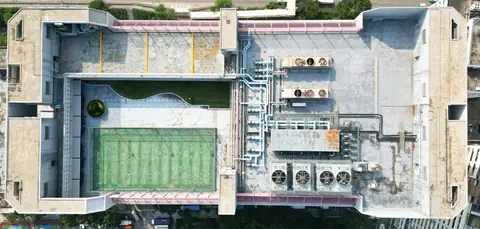
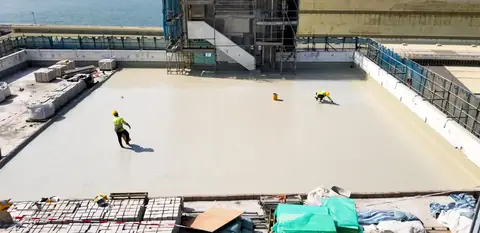
Project footage showing the scale and application of Polyurea overlay systems across different sites.
Site assessment and quotation
First confirm whether the existing layer can remain
Send roof overview, existing-layer, outlet and crack photographs for an initial review before arranging a site inspection and project quotation.